H-MTD Connector Disassembly Guide
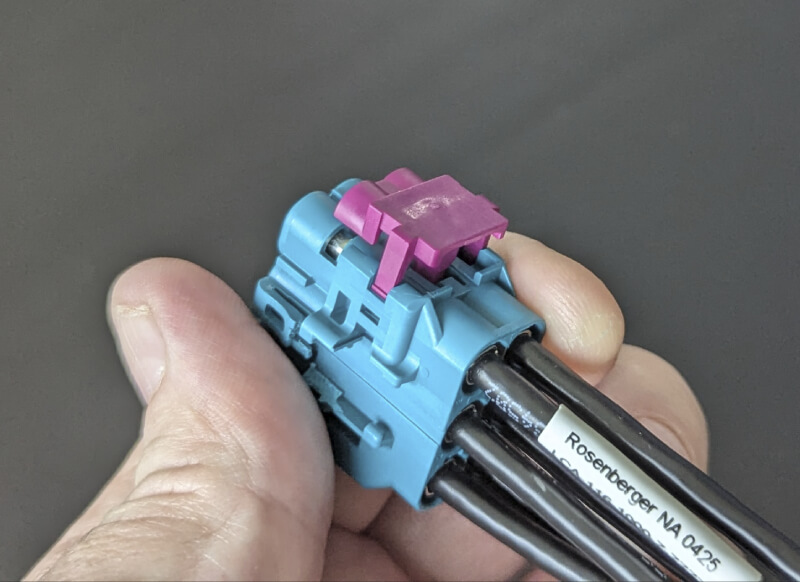
Step 1: Remove the Purple Lock
Remove the purple lock by prying up from the wire side using a flat screwdriver. Once it’s lifted, remove the lock entirely from the connector.
Step 2: Make or Prepare the Tool
We made this tool from one half of a tweezer that fits perfectly behind the green locking pin. You can find this type of tweezer on Amazon by searching for “ESD-13 tweezer.”
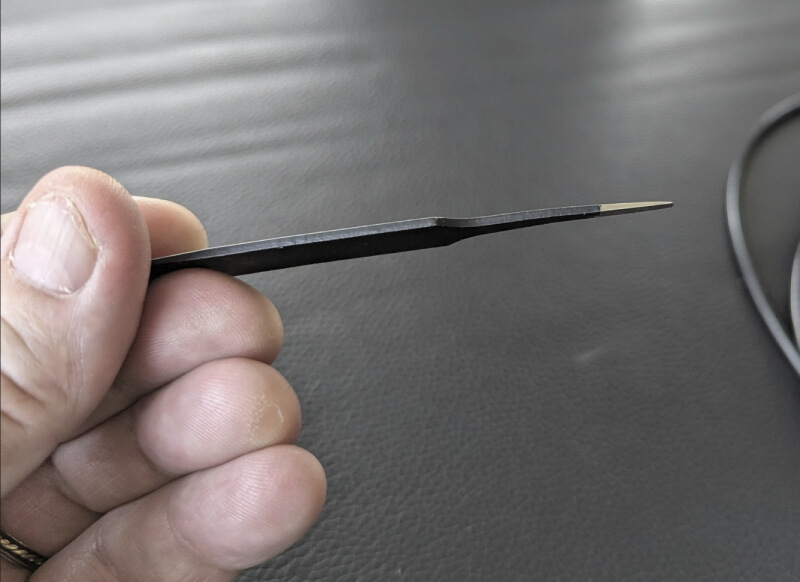
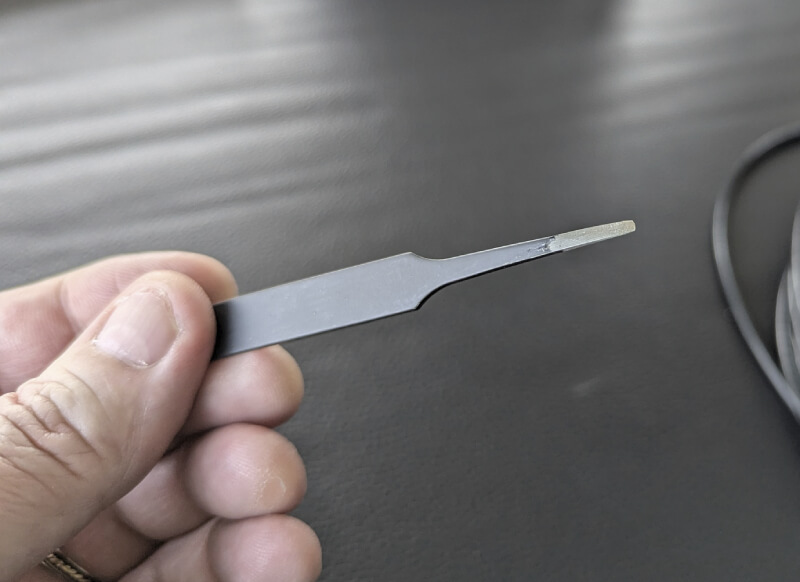
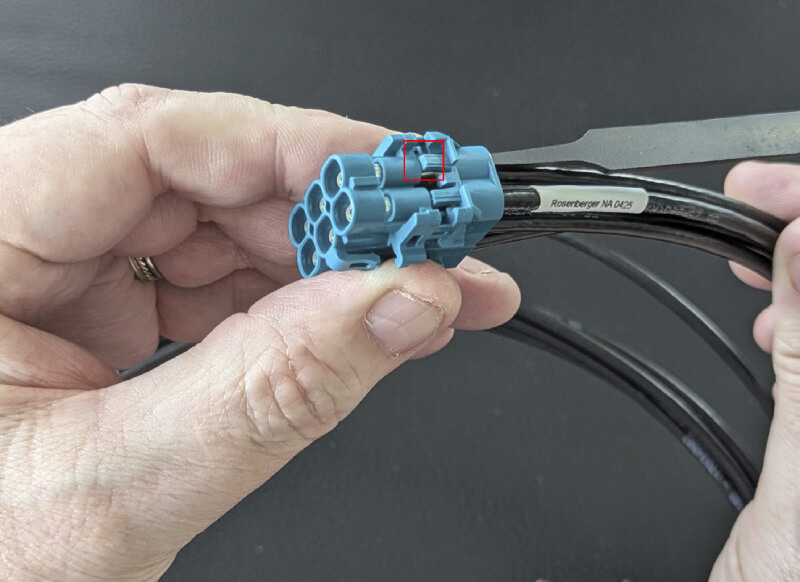
Each pin has a green plastic lock, shown in the right picture (highlighted with a red box).
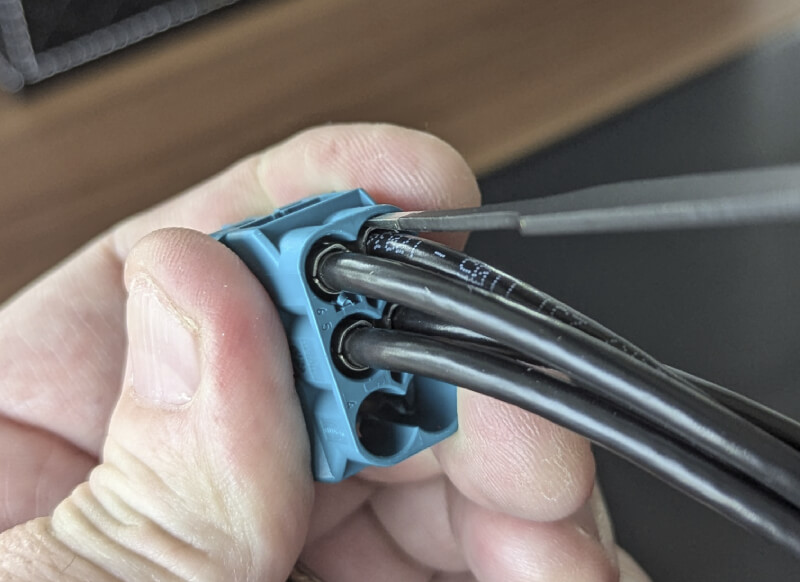
Identify where the lock is for a given pin, then insert the tool between the wire side and the green plastic housing as shown.
Push the tool in until the lock lifts up — you don’t have to pry or use force.
Avoid inserting from the outside, as it’s easy to break the lock.
Once the lock is raised, you can pull the wire out of the connector.
Step 3: Removing Center-Row Cables
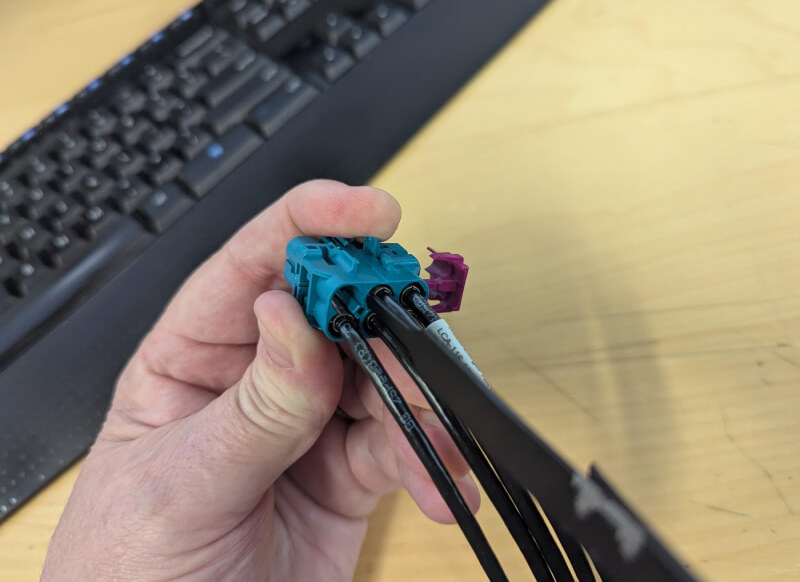
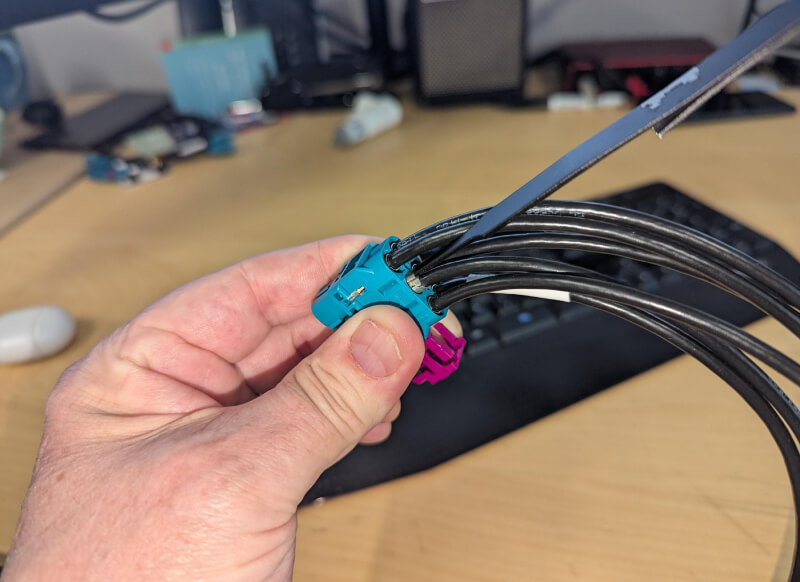
To remove any of the center-row cables, insert the tool on the side of the cable opposite where the purple lock is normally located. Insert the tool straight in until the green lock is lifted, then pull the cable out.
It’s important to remove the purple lock completely before depinning — leaving it in can prevent full release of the pins.
Summary
This simple method using a modified ESD-13 tweezer makes H-MTD connector depinning easier and safer.
By lifting the green lock instead of prying from the outside, you avoid damaging the connector and can quickly remove or replace cables as needed.

